Along with the growing interest in heirloom vegetables and free-range meats and eggs, there is an increasing appreciation for how our ancestors grew and prepared their foods. Now with more knowledge about the importance of probiotics, there is a revival of interest in fermentation of vegetables.

Equipment needed for fermenting vegetables
My southern grandmother gardened year-round and cooked many types of greens to serve with cornbread. She canned pepper and tomato relishes to use during the winter. My mid-western grandparents also grew lots of vegetables. They had a cellar to store root crops and cabbage for the longer and colder winters when the garden had been put to bed. Based on their ancestry, I am sure they made sauerkraut, but we have no surviving recipe. Perhaps it was so simple that no recipe was needed.
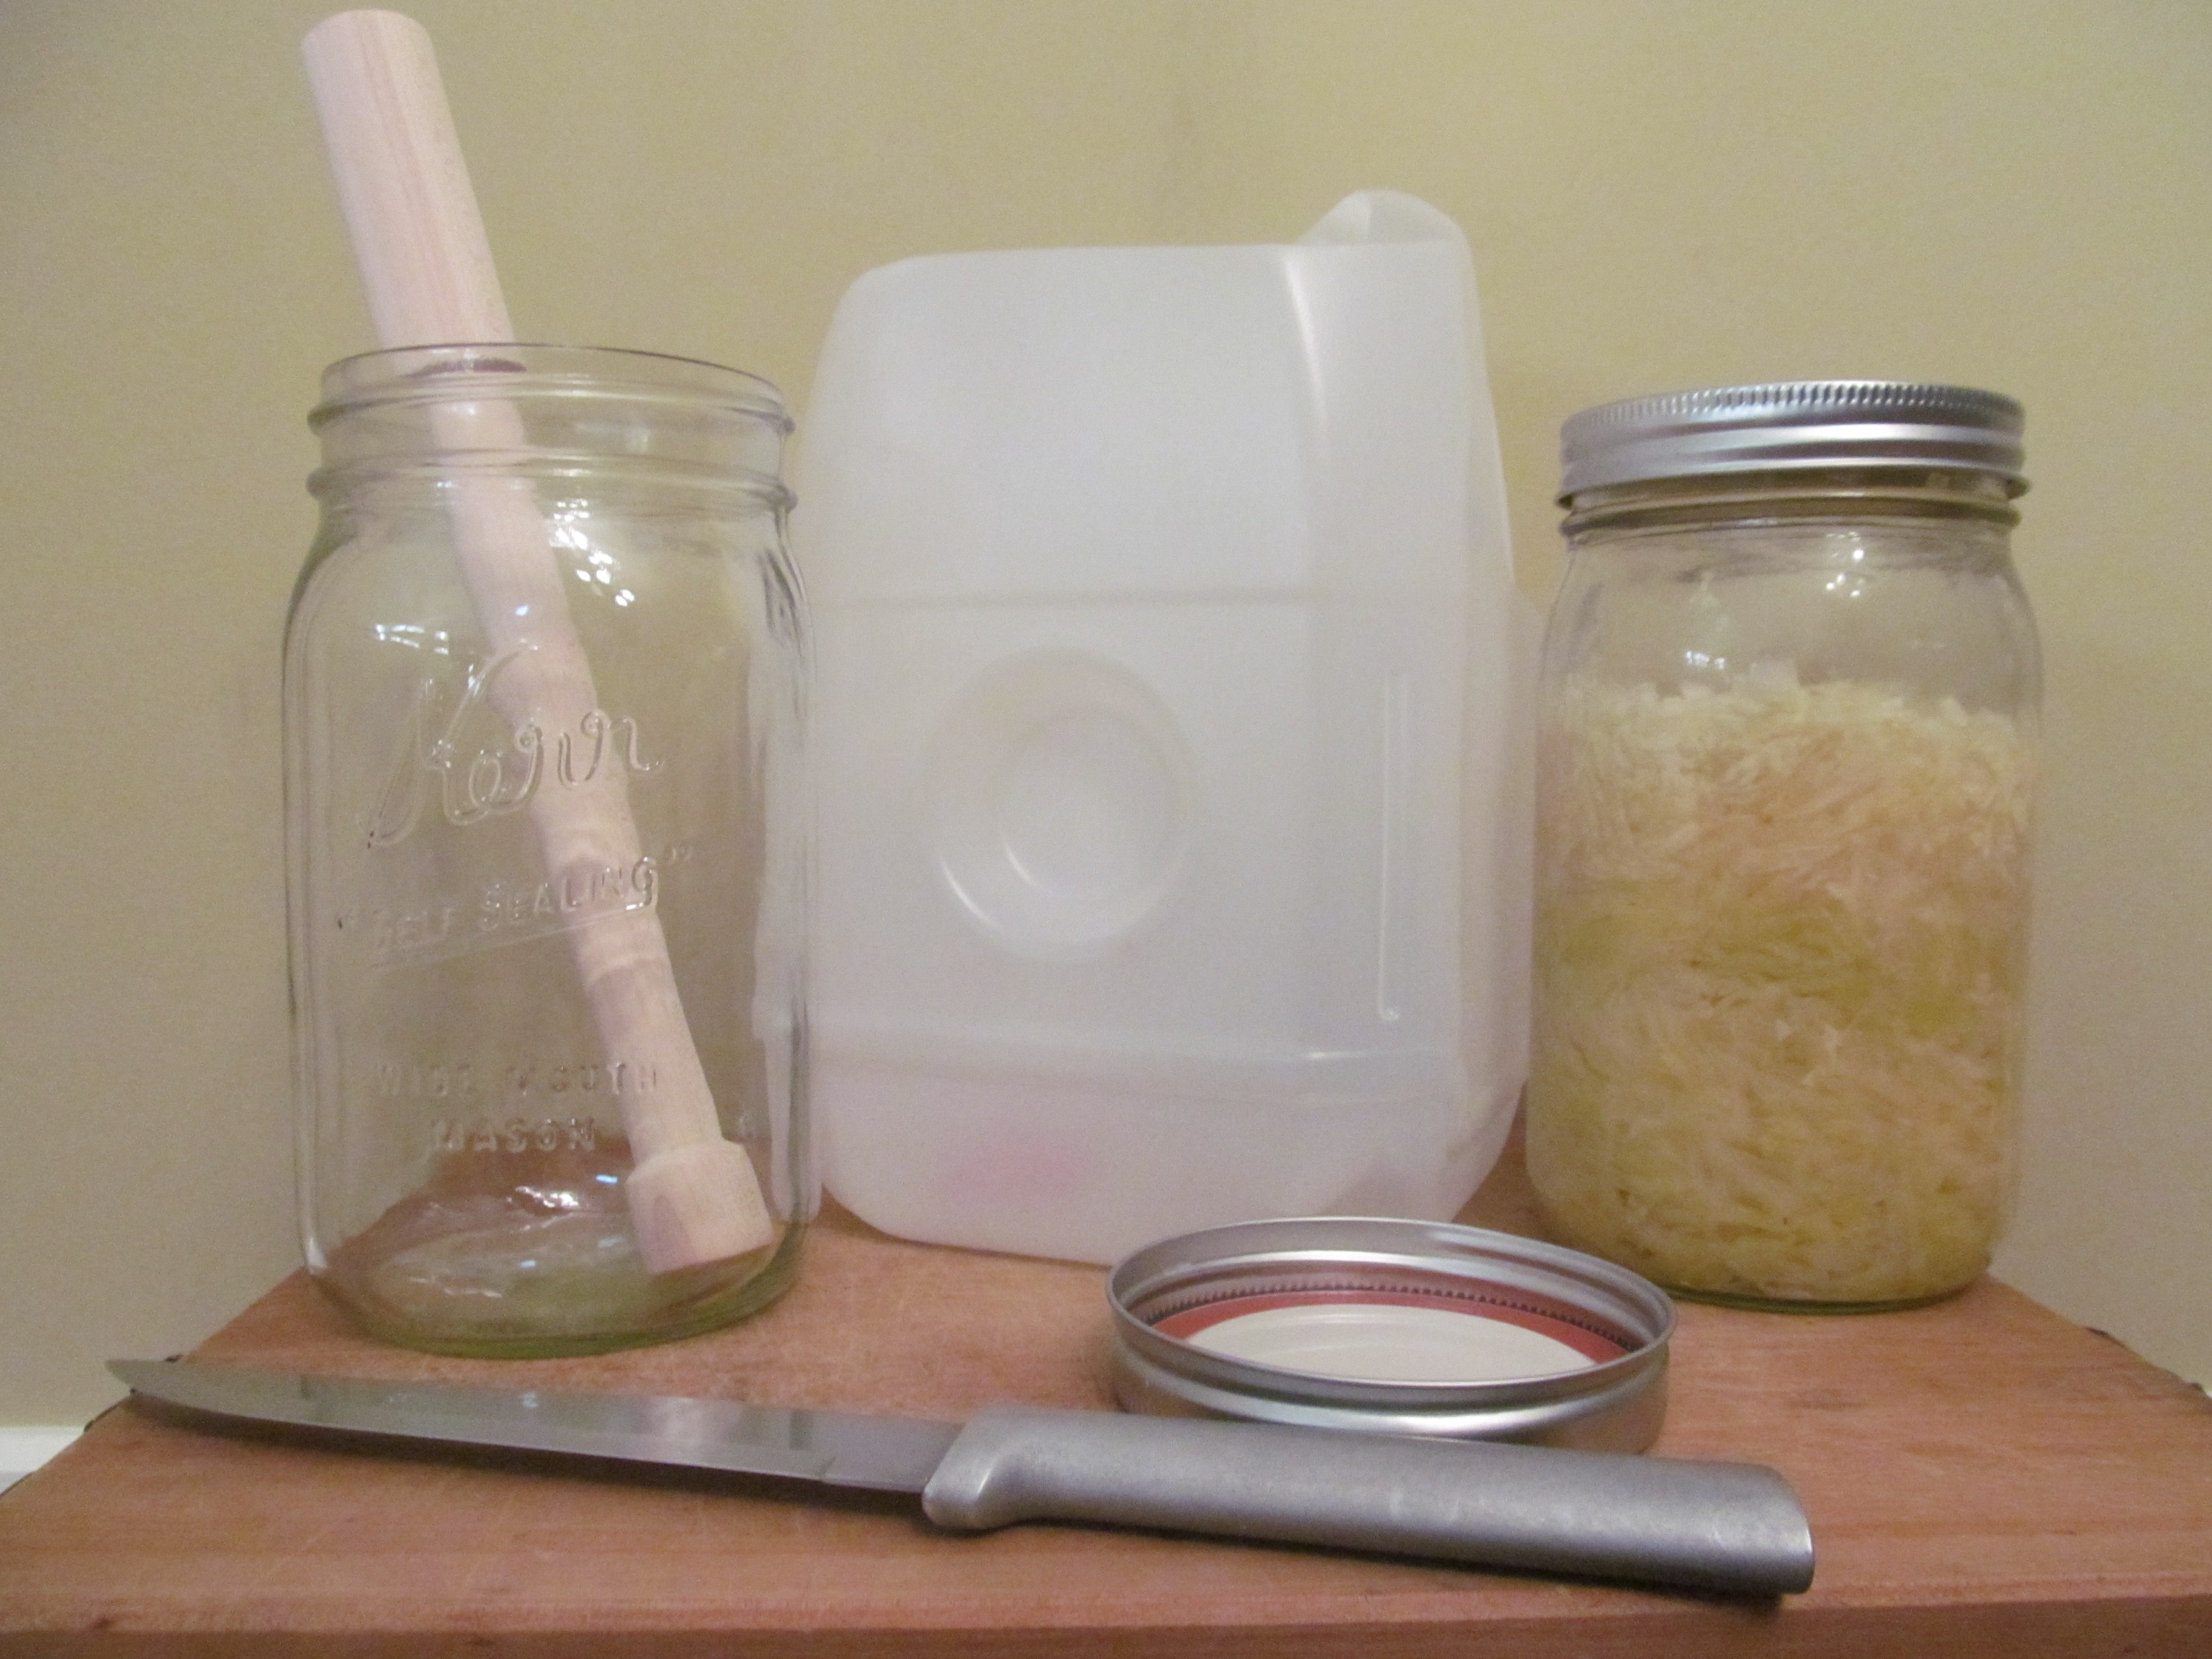
I was pleasantly surprised to find how easy it is to store a nice-sized cabbage in a quart jar. The only unusual tool pictured at left is a wooden stomper, which came with a food grinder. You will also need a large bowl, preferably glass, but stainless steel will do. A grater or slicer would be helpful also. The large white container in the center is my own invention and will be explained later.
If you have any paranoia about germs, please put that aside before you start. The first recipe I found said to sterilize the jar, then proceeded to describe how you should use a wide-mouth quart jar so you can use your hands to tightly compress the cabbage, forcing enough juice out of it to provide the brine. I decided to skip sterilization of the jar, since I cannot sterilize my hands. I had to assume that a process that has been used for thousands of years, and long before discovery of germs, did not really require sterilization of the containers.
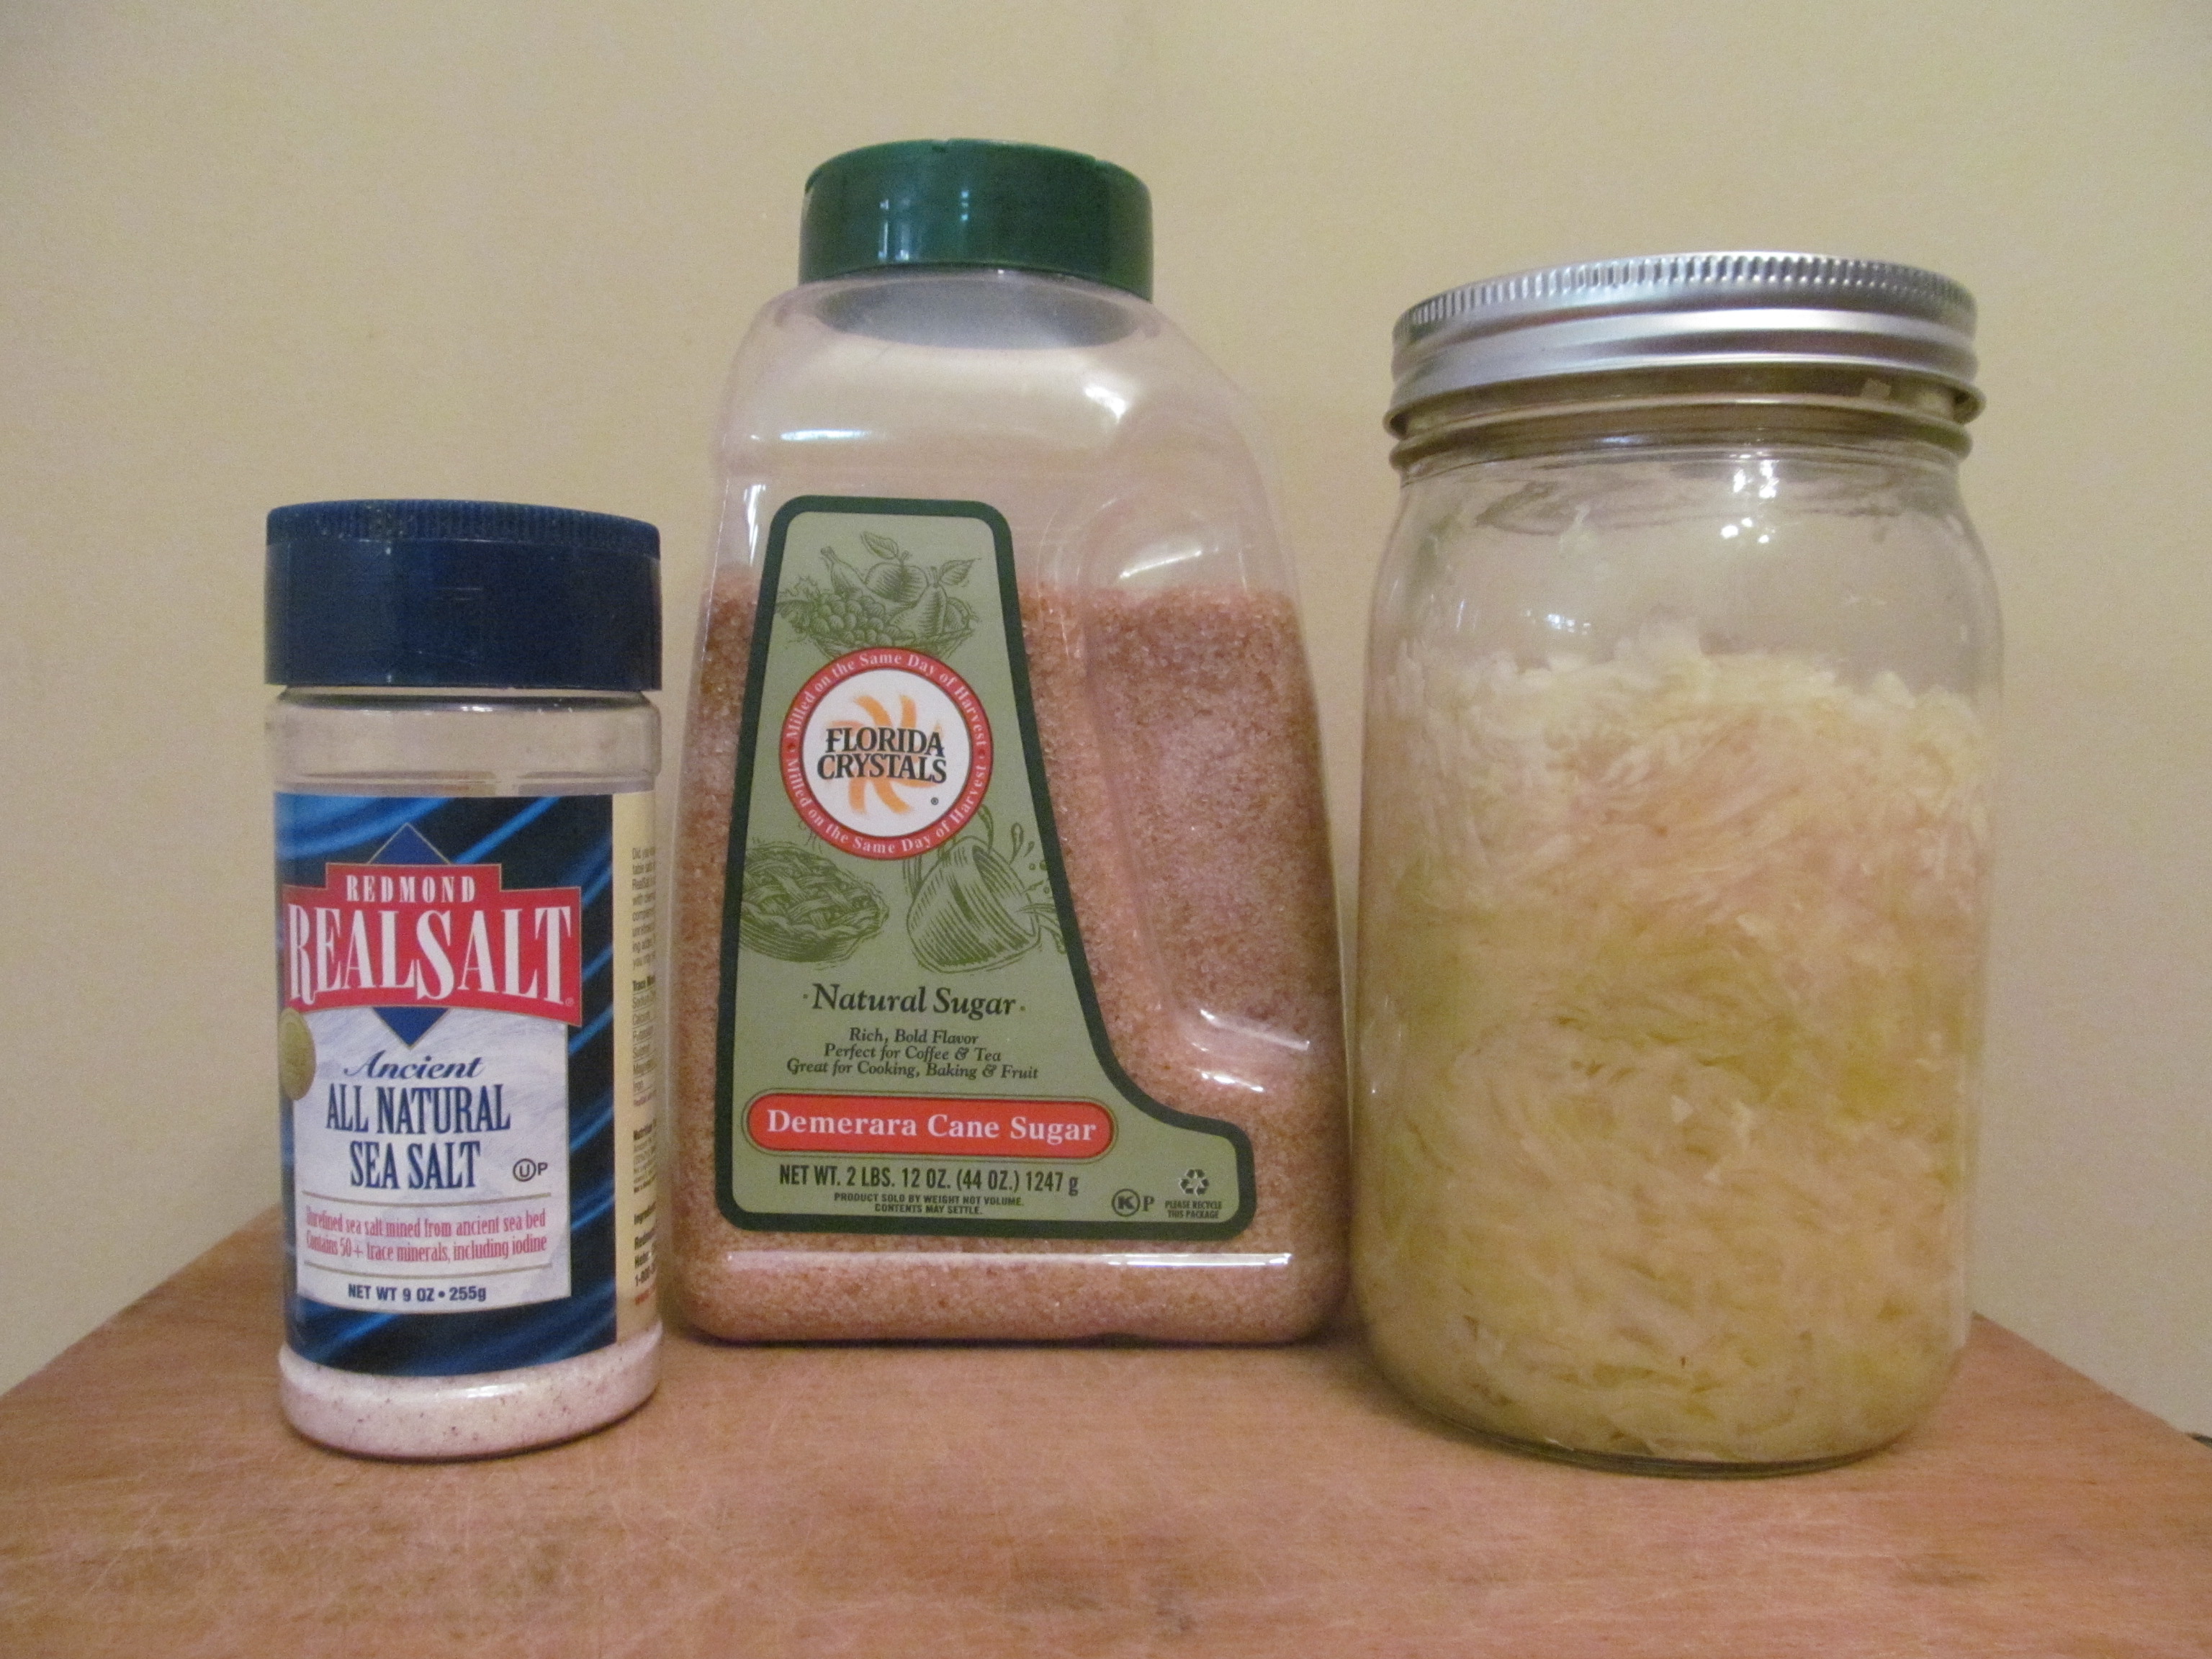
The fact is that the bacteria which are naturally on the cabbage and on your skin provide the starter culture. You can add whey or other sources, but none are really required. Other than fresh cabbage, preferably organic, and a teaspoon of unrefined salt, no other ingredients are needed. I used Redmond Real Salt, which contains about 98% sodium chloride and 2% minerals. Extra minerals are beneficial for the microbes, especially if you have to add any filtered or distilled water which contain none. Although some do not require it, my recipe also called for a teaspoon of raw sugar. I used the natural sugar pictured because I had it on hand and it might also contain a bit of minerals.

Ingredients
I found that I could not compress the cabbage in the jar firmly enough by hand to cause juice to appear. So I resorted to the tamping stick which made it much easier. I did like using a wide mouth jar though, because it is easier to pack and also to get the sauerkraut out later.
Today I discovered a video that showed repeated tossing and squeezing of the thin-sliced vegetables in the bowl by hand, after sprinkling a teaspoon of salt over the top. It didn’t take long for a generous amount of liquid to appear, which was enough to cover the mixture when pressed into the jar.
My recipe said to add a little heated salt water if needed to bring the brine over the vegetables, leaving a half-inch of space at the top. Then it said to get out any air bubbles, put the lid on tightly, and put the jar in a container in the corner of the garage for six weeks. It warned that the lid could be tightened, but not loosened, and that there would be plenty of kraut odor. The container was to catch any liquid that might bubble out of the jar.
Since I didn’t have a garage and it was too cold outside for fermenting, I decided to keep the jar in the kitchen. Because of my concern that it might spew or otherwise become a nuisance, I fashioned a container from a plastic milk jug by cutting off the top with scissors, leaving the handle. The sealed jar fit into it perfectly, although it didn’t sit quite level. So I dropped the red plastic cap into the bottom to level the jar. No odor or other reaction was noticed, but after removing the jar from it’s temporary housing, there was a little residue in the bottom, showing that my effort was not wasted.
The beneficial bacteria thrive in a salty, anaerobic (without oxygen) environment and consume sugars. They overcome any bad microbes in the process. The resulting lactic acid culture is beneficial to our health.
The best surprise was that my sauerkraut is milder than any I have eaten. I have read that results may vary, even with the same ingredients, so I would need much more experience and experimentation to speak with any authority.
The most comforting advice was that we don’t have to worry about whether the fermented food is safe to eat. If any discoloration or froth appears on top, it can be dipped off and the rest should be fine. The smell will be noticeably offensive if it is not safe to eat. In that case it can be composted.
I am looking forward to making another batch with shredded carrots added and maybe a little garlic. I have read that onions are not recommended because they can get stronger and overcome all other flavors. I also want to try making my own whey for a starter culture. Most recipes I have seen lately list a much shorter ferment time than six weeks, so that would be nice also.
I may not find a recipe that everyone can agree on. But I would like to teach my grandchildren how to ferment their own vegetables. Since the health benefits are so great, everyone should know how to do it. This is one tradition that deserves to be preserved.


